Friday, September 23, 2022

the new home of little dear

 The all new little-dear.com is here!!

I've been working on a HUGE secret project all summer and I am SO excited to see it finally finished: the new little-dear.com has launched!!

The new site contains everything little dear, from here you can:

  • Shop for little dear craft patterns, kits, books, SVG files and more
  • Look through the Tutorials for lots of instructions, ideas and projects
  • Check the Project Gallery for photos of finished embroidery samplers
  • Browse the Free Download Vault for tons of free projects and patterns
  • Visit the little dear studio in an exclusive tour post!
  • Join the little dear newsletter for updates, the Downloads Vault passcode 
    • and a $5 off coupon

It is all here for you! **This will be my last, official post here at blogspot, all future posts and updates will be at little-dear.com

The brilliant team at Aeolidia designed and built the new site, I used to work with them years ago doing illustration and have followed their projects ever since. It's been amazing to finally have them design my own home on the internet! They have truly created the site of my dreams. 

See you soon!! xo aimee

Wednesday, July 13, 2022

Bundle of Joy

My friend Mollie Johanson has written the most adorable cross stitch book!! Cross Stitch Celebrations: Bundle of Joy! is out now and I am excited to be part of the blog tour this week. (Check the bottom of this post for the full schedule as well as details on how you can win a free copy!)

If you're familiar at all with Mollie's super cute style, you'll agree that she is the perfect person to design a book of baby patterns! Her sweet animals and color palettes make these projects so delightful and a joy to make and give. 


This book shows you everything you need to design your own baby gifts and announcements. It contains lots of patterns to mix and match: cute baby animals as well as borders and alphabets so you can create something super special and unique!


One of the best things you'll discover is how easy it is to create your own, personalized projects! You can put together and customize any of the design elements included to make the perfect pattern to fit your needs. You'll find detailed instructions and ideas for laying out your design, combining motifs, choosing colors, adding names and dates, as well as ways to frame and display your work when you're done. 


Even if baby gifts are not on your project list (yet) you will love this book for it's super easy, beginner's cross stitch instructions, and sweet little motifs and letters that are perfect for learning and practicing on! 


Here is the blog tour schedule for this week! Be sure to visit each stop, you'll find lots of chances to win a free copy of Bundle of Joy. To enter my giveaway, visit my post on Instagram at @aimee_littledear. Good Luck!

July 11 - Mollie Johanson

July 12 - Clare Albans


Monday, February 28, 2022

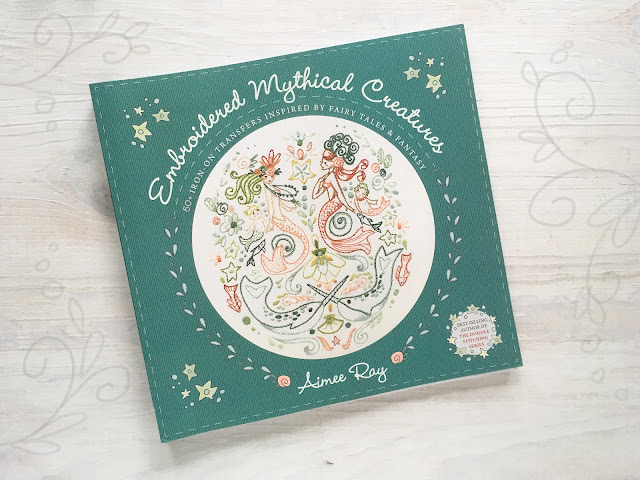
Embroidered Mythical Creatures!


I am so excited to share my new book with you, Embroidered Mythical Creatures from C&T Publishing!  I’ve been a huge fantasy lover for as long as I can remember, I’ve been drawing unicorns, mermaids and dragons for as long as I could draw. So, putting all of my favorite mythical creatures into a book of iron-on transfer embroidery patterns has been a dream project for me! I think you’ll love stitching up these whimsical patterns as much as I loved drawing them. 

The book is available now at C&T website as well as other online book sources, and signed copies are in my shop!


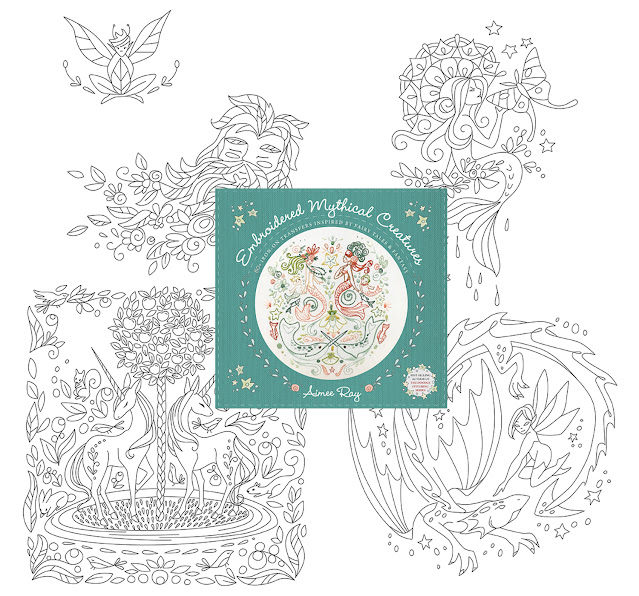
The book includes more than 50 unique designs inspired by fairy tales and fantasy, as well as complete beginner’s embroidery instructions and stitch diagrams.


As a special early bonus, I have a cute little free pattern for you! This guy is one of my favorite mini motifs from the book. 


This little "butterfox" (fox-fly?) like most of my patterns, began as a tiny sketch in my sketchbook:


Here's the pattern:


Grab some supplies, download and Have fun! 
xo Aimee


Friday, February 25, 2022

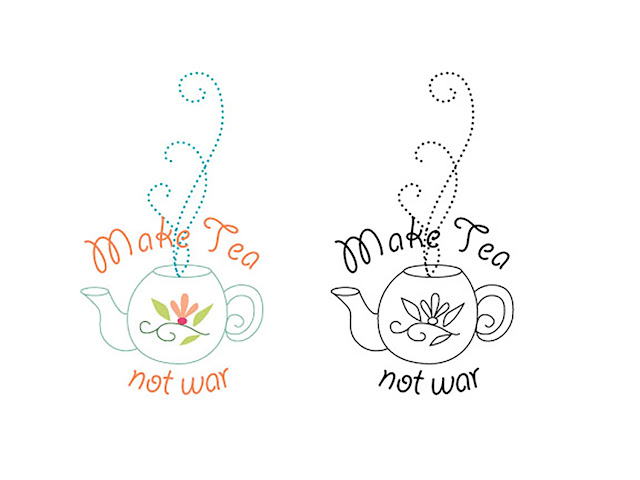
Make tea, not war


Share tea with me? I made this pattern long ago but I thought it was a good time to share it again. How many fights and misunderstandings could be avoided if we all just sat down to share a pot of tea, talk, understand and love each other? (Maybe even stitch something together?)


Here's the free pattern to download, stitch and meditate on working together to make the world a happier, safer place for all. 

<3 Aimee


Monday, February 7, 2022

Stick and Stitch patterns!


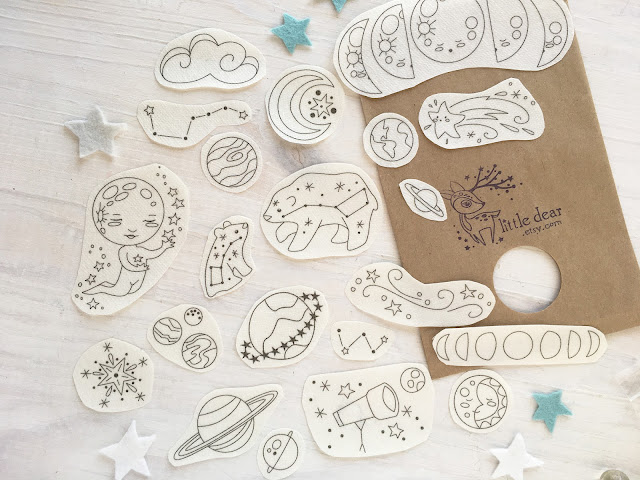
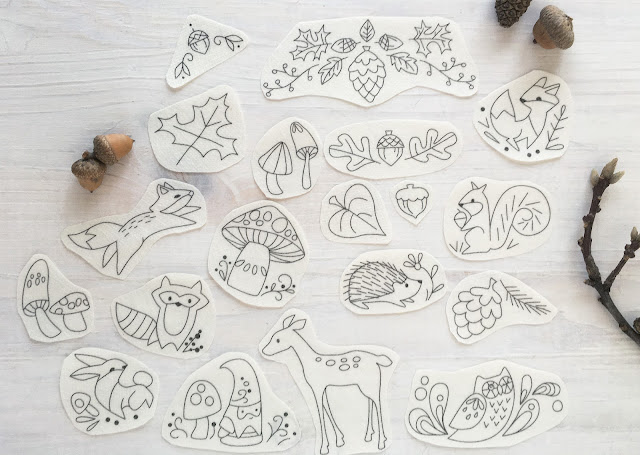
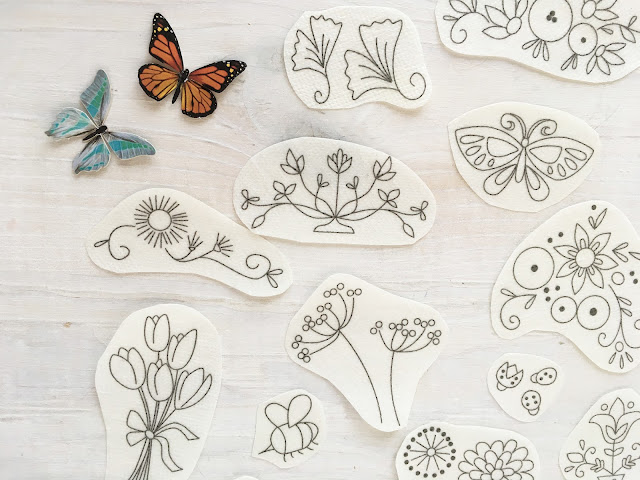
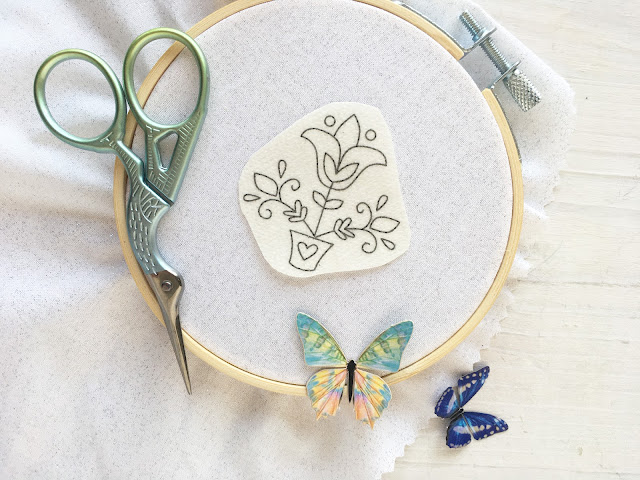
Hey guys, I've got something super fun and new for you from little dear! Have you ever used Stick and Stitch embroidery patterns before? They are a really easy way to embellish clothing, linens or any other fabric craft project you're working on. 


I've just added 3 new Stick and Stitch packs to my shop, choose Woodland, Floral or Celestial themed designs to embroider and love!


These little one-use stickers are so easy, just peel the back and adhere to your fabric, stitch through sticker and fabric together, then rinse away the sticker with warm water. Be creative, use whatever colors and stitches you like!

I hope you'll try these out, I know you'll love them!
Find all three sets at littledear.etsy.com

xo Aimee

Friday, July 2, 2021

One Hour Embroidery Giveaway


Happy Friday! I hope you've been following along on our Doodle Stitching, One Hour Embroidery book blog tour, it's been so much fun! I'm rounding it out with one last giveaway today, but be sure to visit all the other links on the list for more chances to win a copy of the E-Book, plus some fun, free projects, patterns and more.
Here's the list:

June 28


This book has so many sweet, little projects that you can stitch in just around an hour. It is perfect for anyone with limited creative time! You really can make something unique and special, no matter how much time you have.


There is also a motif library containing over 100 cute little embroidery patterns to stitch! My favorite part of the book is that you can mix and match these designs with almost any of the projects to make your own unique creations.


I know you'll love this book, even more so if you win a free digital copy, right? To enter, just leave a comment below and I will pick a winner at random on Monday, July 4. Thanks and good luck!!
xo aimee


Monday, June 28, 2021

One Hour Embroidery Blog Tour!!


I'm so excited to share the release of my newest embroidery book, 
Doodle Stitching, One Hour Embroidery, and to give you a chance (actually lots of chances) to win a free digital copy!!

I created One-Hour Embroidery with busy people in mind. Everyone is busy but so many of us get so caught up in daily to-do’s that we don’t think we have time to craft or be creative. This book will show you that you truly can make something wonderful in just an hour! 

(For a sneak peek inside, come peruse this post on the book I did recently for C&T Publishing.)

Whether you are a beginner or seasoned stitcher, I know you will love the fun, quick and easy designs in this book. It contains over 135 cute motifs to embroider; mix and match them with 18 simple projects that you can complete in right around an hour. It doesn’t take long to create a special something that you’ll love.

Come follow our blog tour throughout the week on the link schedule for a new chance to win a free copy of the E-Book each stop. I'll be posting again on Friday with my giveaway here, along with some free patterns from the book! Good Luck!

Wednesday, June 16, 2021

Embroidery Planner Giveaway!


I've got an excellent Blog Tour giveaway for you guys today! This amazing book by Christen Brown is such a unique and great idea. It is a step by step planner/ journal to help you create, plan, and keep a record of 12 embellished embroidery pieces! If you love organizing and list making as much as I do, you will love this book, it's beautiful, inspiring and fun to use.

The Embellished Art Embroidery Project Planner is designed so that you can customize everything in the book for your own needs. There are chapters such as My Year, My Creative Goals and My Action Plan, all to help you organize your thoughts and plans by day, month and year. You can keep track of all your inspiration, materials and how long projects take (or how long you'd like them to take!) Plus there are check off lists for when you complete goals (this is my favorite part! ;)

Are you ready to win a copy? Just leave a comment below and tell me what crafty projects you're working on this summer! I will choose a random winner on Friday, June 18, and contact you by email (be sure I can locate your email address!)

You will also have a chance to win the book from the other participants on the blog tour, when you visit their sites.

Good luck! 
:) aimee

Saturday, January 23, 2021

An Interview


I recently did a fun interview for Create Whimsy, and they pulled out this quote. I truly believe this and I hope you are gifting yourself some creative time every day! Come read more about me and lots of things I love right here.


Tuesday, December 15, 2020

Gingerbread fun


How's your Holiday season going so far? Hopefully it's not too crazy and you're finding some cozy crafting time. This is an easy and fun little project that's great for (almost) all ages. Aren't they cute? Just grab a box (aren't there an abundance of those around lately?) and a white Posca paint marker and go to town drawing cute Gingerbread houses, people and pets!


This was my first experience with Posca pens and I have to say they are really fun to draw with. You do have to let them dry for a minute or the lines will smear, but overall they're not messy and very user friendly. We drew our pics on the cardboard first, then cut them out leaving an edge around the drawing so they look just like decorated cookies! I grabbed only a white one and I love the simple look of these, but they come in all colors so you could make lots of frosting colors if you choose.
My kids (age 5 and 8) really enjoyed this. They drew the cutest ones! 


My son made a Ninjabread man, a Monkeybread man and a house with a Satellite dish. ;)
We wrote greetings on the back and sent some to our families as cards, but you could also add a string on top and make really cute ornaments, or cut a little cross piece for the bottom so they can stand up. 


If you're looking for a simple, easy and fun holiday project, try this one out, I think you'll love it.
xo aimee

Monday, October 19, 2020

Thread Doodling by Carina Endvoldsen-Harris

 I was so thrilled to receive a copy of Thread Doodling by Carina Endvoldsen-Harris in the mail recently and I'm excited to share it with you! This book is full of so much eye candy and inspiring embroidery projects, it's a great addition to your craft book shelf. 

Carina (of polkaandbloom.com) and I have been friends online for years and she has done some projects for a few of my Doodle Stitching books as well! She and I have similar stitching tastes and styles, but Carina's fun designs and bright color palettes are uniquely her own. I know you'll love her work as much as I do.

Here are some sneak peeks into her newest book, Thread Doodling! This book contains over 20 embroidery designs and also includes Iron-On transfers for all of them. There are stitch diagrams and instructions for getting started in embroidery, making this book perfect for beginners as well as experienced stitchers. Each project has color and stitch guides, but also lots of useful suggestions on making the patterns your own!

Some of my favorites of Carina's designs are her repeating, geometric patterns and mandalas. If you're looking for some calming, meditative embroidery time, these are the perfect patterns to start with! 

My all time favorites of this book are the map designs. I'd never considered turning an above view of a favorite city or landscape into embroidery but this is such an awesome idea. There are several different suggestions and patterns for map embroideries here and I can't wait to try one out.


Thread Doodling by Carina Endvoldsen-Harris is available now, you won't want to miss it. 
Also check out Carina's website at polkaandbloom.com for more fun patterns and projects.

xo aimee


Wednesday, October 14, 2020

Pincushion Rings


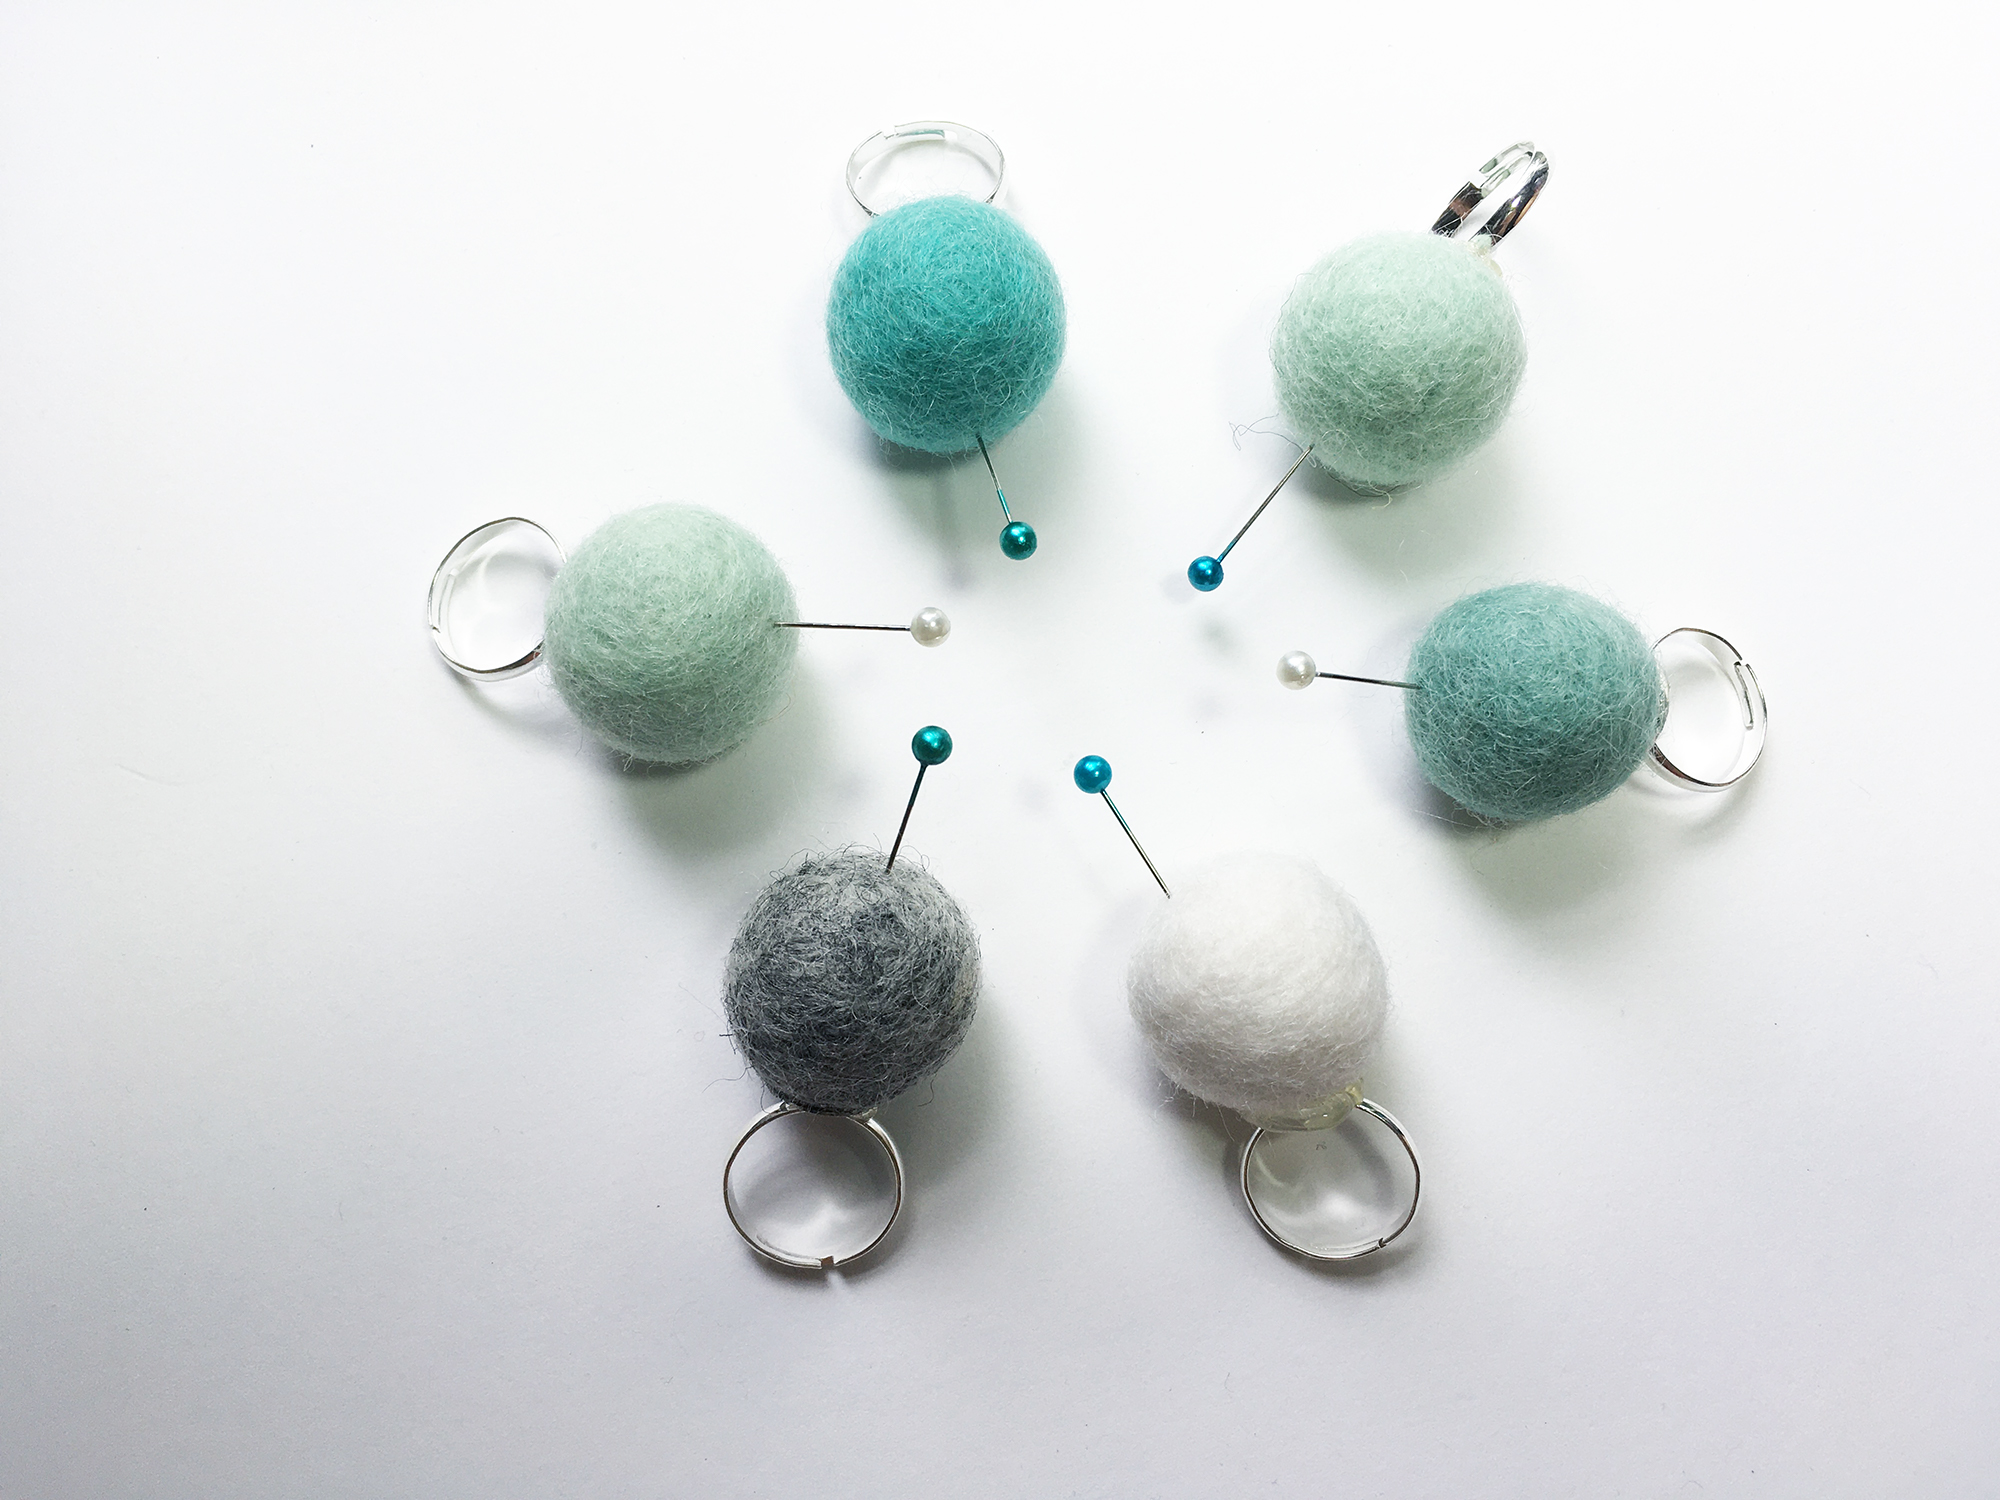
Hello! Today I want to share a fun little project with you for how to make these cute and fun pincushion rings! They're quick and easy to make, the perfect gift for your crafty friends. 

I made them for my Crafty Superstar Patreon subscribers (did you know I send something extra special to my top level members each month?) and I think you'll love them too.

I purchased 1 inch felted balls from Cutest Little Garlands on Etsy, and ring blanks from Constructing, also on Etsy (I buy a lot of things on Etsy. :) The rings have a flat circle piece to use as a base.


All you need to do to put them together is grab a glue gun and glue the balls onto the rings. All done. They are super cute and fun to use. They'd make great stocking stuffers, or treats for your craft or sewing group. Or just make one for yourself! (anyone else constantly misplacing your needle??) 


I hope you will try these out. Have fun!
xo aimee


Tuesday, September 29, 2020

Stitch your ABCs


Felt Alphabet sewing patterns are new at little dear!

Now you can stitch up all 26 letters from felt. These are so much fun for you to sew, and for little ones to learn and play with. 


You can also use them to make custom name garlands! Stitch up your ABCs, names or inspiring words in any color palette, they'll be the perfect addition to any nursery or kids room decor.


Grab your PDF pattern download at littledear.etsy.com and stitch up your letters for someone special. Have fun!
xo aimee


Thursday, September 10, 2020

How to Frame your Embroidery


Woodland Alphabet and Numbers embroidery patterns and samplers are now available at littledear.etsy.com!! These designs have been in the works for several months and I'm so excited to finally share them with you. With lots of beautiful nature details, they are so soothing to look at and to stitch, plus, they're educational too!

So often, my patterns are circular and fit perfectly into a standard embroidery hoop, which is a great way to frame them (Click here for a tutorial!) But these are not round, the images are 8x10 inch and rectangular. So, I decided this was the perfect time to show you some easy framing techniques for embroidery.


The first way is pretty straight forward:
1. Start by ironing and hemming the edges of your embroidery by machine or by hand. (I like to hand stitch it with the Running Stitch.)
2. Choose a frame a few inches larger than your embroidery piece and cut a piece of mat board the size of your frame.
3. Use double sided tape to adhere your embroidery to the center of the matte board and place it in the frame.


This technique is super easy, functional, and it won't destroy your fabric, in case you decide to use it for something else later! You'll need a piece of white foam core, which you can get in any craft store or office store. It usually comes in large sheets which you'll need to cut to the size you need. 
(In this case, 9x11 inches, leaving space for a border around the embroidered area.)

1. Iron your embroidery and lay it out flat, face down.
2. Center the foam core piece over the embroidery.
3. Fold the top edge of the fabric down over the foam core and tape it to the back.
4. Fold the bottom edge up and tape it, check to make sure the edges are even on the front.
5. Fold in the sides and tape them down, then fold the corners and tape them. 
Done! Now you have a stretched embroidery piece that you can frame, or even just set up on a shelf.

You can also stretch your embroidery fabric onto a wooden canvas frame. You can get separate canvas frame pieces like these in any length you need and fit them together at the corners to create a custom sized frame. You'll need 4 frame pieces, white cardboard and a staple gun for this method.


1. Build your wooden frame by fitting the pieces together. 
2. Cut a piece of white cardboard or poster board the same size as the wooden frame.
3. Place the ironed fabric face down, with the board centered over it, and the wooden frame on top.
4. Fold the fabric edges over the frame and staple them down to the back with one staple at the top, bottom and both sides, making sure the embroidery is even on the front.
5. Continue pulling the fabric tightly over the back of the frame and stapling it down along each side, and then at the corners.


Here is a fun and easy way to make a wall hanging with your embroidery!
You'll need two straight sticks at least 1/2 inch in diameter (you can also use dowel rods,) 6-8 flat thumb tacks and a length of ribbon or twine for hanging.


1. Iron and hem the edges of your embroidery.
2. Cut the sticks or dowel rods to 2 inches longer than the top and bottom of your hemmed embroidery.
3. Place a stick at the front, top edge of your embroidery and pin the fabric to the back of the stick at the center. 
4. When you pin the corners, put the pin through the end of the hanging ribbon and the fabric into the stick, or you can tie the ribbon on afterwards.
5. Repeat with the second stick at the bottom of the embroidery (only without the hanging ribbon.)

There you go! I hope you find these ideas useful and try some of them out for framing and hanging your embroidery art. Let me know if you have any other techniques in the comments, and be sure to look for my new ABC and 123 patterns and samplers at littledear.etsy.com!
 
Happy Stitching! xo aimee